So, you have a signed contract with a client that includes draining the pool. It could be for a variety of reasons:
Have your client sign a liability release prior to draining the water. Be sure the water is pH-balanced and chlorine-neutral. Do not pump it into the street! You could be in a stressful hazmat condition with the local city code enforcement. Hazmat claims will run in the tens of thousands. There are so many environmental activists just looking for some way to save the world at your expense. MAKE SURE THE PROPERTY IS NOT ON A SEPTIC TANK THAT WILL OVERFLOW AND BACK UP INTO THE HOME. You will need a city permit in that case.
Make sure that there is no saturation concern such as pool locations at the bottom of a slope after heavy rains; you don’t want a pool to float or pop up.
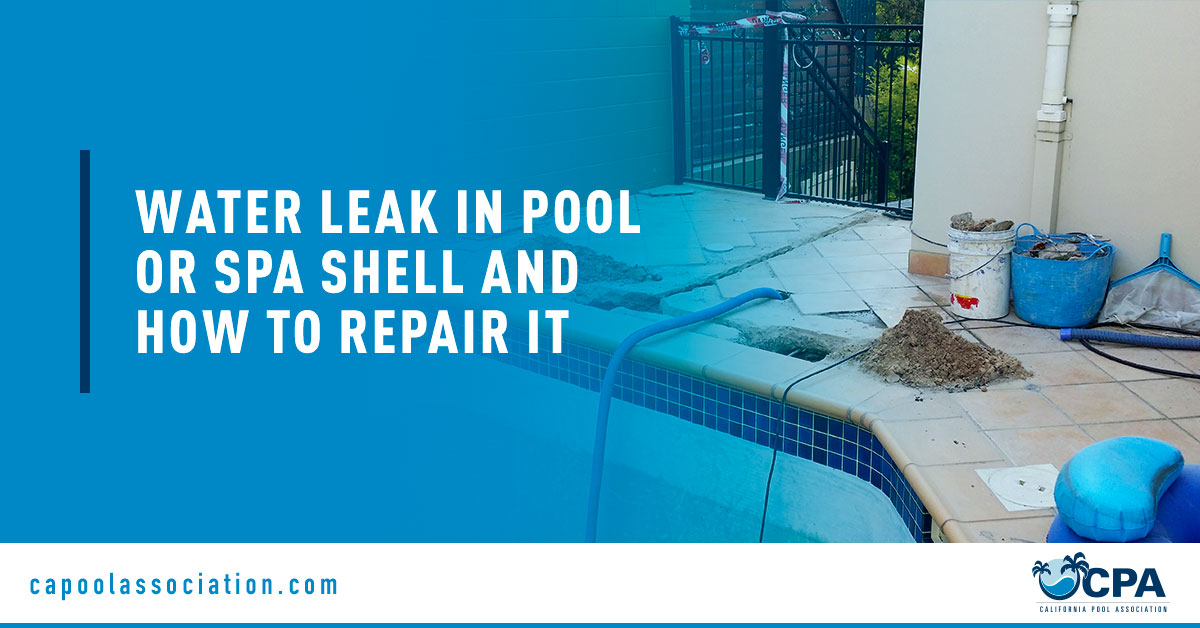
So far, everything has gone fine, but you notice a problem. It is concerning to see water dripping from some place. It can end up adding up too many gallons in the bottom of a pool or spa. What do you do? First, you most locate the source. It might be leaking from the area around a return line; perhaps it is leaking around the side of the light niche. It can be a fracture. Often times, it can stop draining, and you can patch the leak soon as it stops. But this is not your lucky day. It won’t stop, and you don’t know what to do.
They are scheduled to plaster the pool in 2 days, and the water won’t stop leaking. It is impossible to plaster a pool or spa with water leaking from the shotcrete or gunite.
There are a few methods that have been used over the years. I don’t recommend two-part epoxy. It is too temporary; it’s like fooling yourself. People have tried using a propane torch to dry up the shotcrete or gunite. DO NOT WASTE YOUR TIME WITH EITHER OF THOSE METHODS.
You can try to hot patch the leak; it can and does work. You can do it on white plaster as well. I have found that the products at your typical wholesale outlet designed to patch plaster surfaces are below the standard they should be for trying to patch the surface; that goes for pebble & glass surfaces as well. Your best bet is to buy a bag of white cement plaster sand & calcium chloride. You will have enough patching material to last you fifteen years if you keep it dry. Buy color pebble glass, whatever you need to get it right. Charge an appropriate amount to profit. A typical white plaster pool is seven-parts plaster sand and five-parts white cement. If you are trying to patch a leak, you can mix a richer concentration of equal parts cement & plaster sand. You will also need calcium chloride (I recommend the powder version). It dissolves very fast as opposed to the prills type. Calcium chloride is a setting agent; it speeds up the set time of cement. When you first add calcium chloride to what you think is already a perfect plaster consistency akin to the thickness of oatmeal, you will find your mix becoming very soupy as you add it in. You must mix in small amounts in a bucket. Start a mix that is much drier than you think is correct. The mix should be workable; not soupy. The calcium will create heat. The mix will get warm and can even burn your skin if you add too much (gloves and safety goggles are required). A quality small finishing trowel and a margin trowel will be essential. You will need also need a towel. IF THE LEAK IS ON THE FLOOR AREA, PLACE YOUR LUKEWARM MIX DOWN. STARTING TO SET UP ON THE AREA OF YOUR LEAK, QUICKLY PLACE A TOWEL OVER IT, AND APPLY PRESSURE. YOU WILL FEEL IT GETTING HARD. THAT IS WHEN YOU KNOW YOU CAN REMOVE THE TOWEL. KEEP IN MIND THAT YOU ARE NOT TRYING TO BUILD A SMALL MOUNTAIN. KEEP IT FLAT AND USE THE FINISH TROWEL TO SMOOTH. REMEMBER: A PATCH IS STILL A PATCH. The bottom line is you can’t refill the pool with a leak that you know won’t go away on its own. It is possible this won’t work, but it usually does.
Let’s go to the final solution. Unless it is a structural fracture, you will need epoxy injection. Say you have a leak that won’t stop. Go to Home Depot, Lowes, etc., and purchase a twenty-pound bucket of hydraulic cement. You have to remove & expose the source. You must wear rubber gloves. It will severely dry out your skin. Follow the manufacturer’s recommendations. Just grab a small handful of the hydraulic cement and start rubbing & pressing it into the leak. This stuff sets up & hardens immediately.
It will stop leaking. It has never failed me. It is messy and requires cleaning up. This repair may not seem to be for every pool company, but if you drain a pool that has a leak, it will become your problem and you will be looking for a solution. A large percentage of pools have leaks. If you are a pool professional, you must know how to deal with them or find someone that can complete the repair. These patch & repair methods have been performed by remodel companies for decades.