How to Repair a Sand Filter – Pentair TR 140 C Sand Filter
Hello fellow service techs. If you have sand filters on your service route you will eventually encounter the problem of a leaking bulkhead fittings. You’ll see these more and more down the road especially on commercial accounts.
For this example, I’m talking specifically about the Pentair TR 140 C sand filter. They contain over 1000 Lbs. of sand you can’t just shimmy the filter to gain access or move the filter to repair a pipe fracture. It’s too big and too heavy to move, how do you solve the problem? First things first, reduce the weight of the filter.
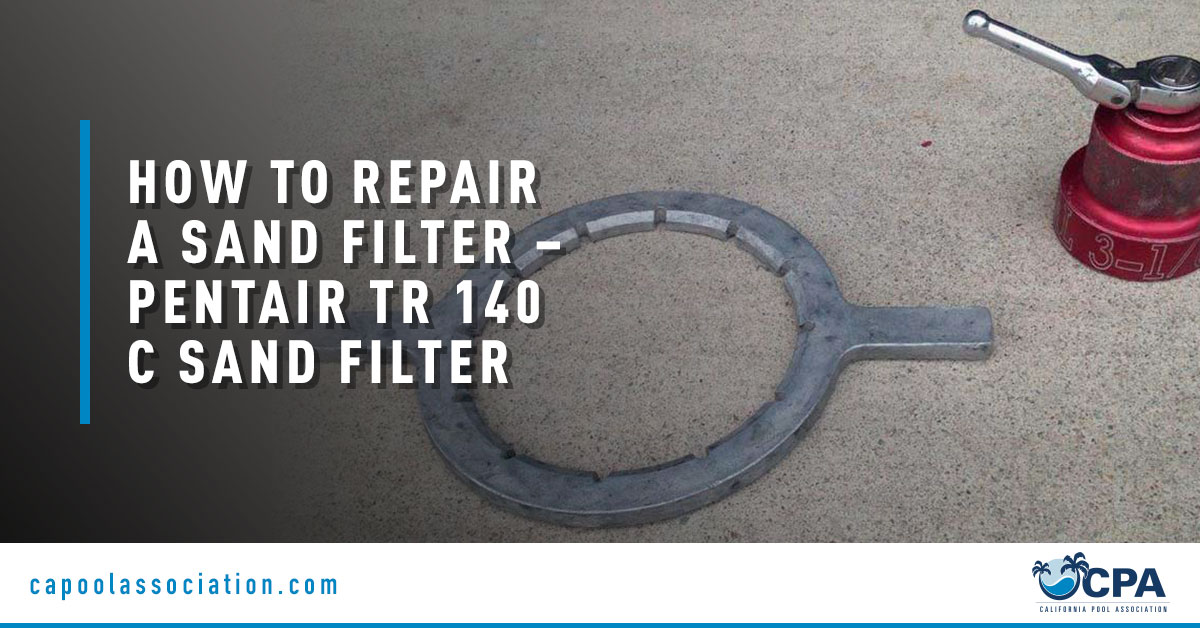
Start by removing the filter top (air release assembly). This must be done with the wrench supplied with the filter or with a wrench as shown in the photo. The aluminum wrench in the photo is much more stable and can be tapped with a hammer to help un-thread the assembly. We always recommend the filter be turned off but there are a few times on a sand filter when the lid is sucked down so tight you need the filter turned on. This will expand the filter and allow you to break the seal of the assembly.
Turn off the filter and open the air release to reduce filter pressure. Then remove the drain plug at the bottom of the filter. Letting the excess water drain will make it easier to remove the sand.
Remove the strainer screen and reverse out the hose from the top of the diffuser. Unthread the diffusers. Remove them and also the screw from the piping assembly. This will allow you to start scooping out the sand place it in numerous buckets. Eventually you will get down to the bulkhead fittings. Back off the external backwash compression nuts. When the filter is light enough to shimmy away out of the backwash valve do it.
Next remove the upper bulkhead fitting. Unscrew the pipe and save it for re-install. Next is retained with a 3 1/8″ plastic nut. Very difficult to do without a socket and swivel ratchet. Pour water over the area to remove the sand from the threads prior to removal. Don’t bind the threads with sand go back and forth if necessary. (The faster way is to cut the fitting off from outside the filter with a saws all. Then just pull the old piece out from inside the filter)
The lower unit is attached to the laterals in the bottom of the filter. This one is more difficult to address we take a wire saw and cut the pipe in half to allow us to remove the lateral assembly. We cut off an additional 1/4″ of pipe to allow for the 2″ coupling we use to re install the lateral after we replace the lower bulkhead. Use the same option of methods to remove the nut and spacers from inside the filter. We always use new bulkhead fittings (there is too much involved to take a chance of the old fitting fracturing even if just the O-ring is bad).
Replace all the spacers and O-rings in the order they were removed use the book if needed as a reference.
Replace the backwash valve external O-rings at this time. You can’t do it after the filter is full of sand. Lube the O-rings including the new bulkhead fittings. Be sure to clean the walls of the filter to get the sand out of the areas where the seals will be replaced. You need to hold the outside portion of the bulkhead fitting with a pair of large channel locks (they are thinner than a pipe wrench) this will keep the fitting from moving as tightened. It is slightly oblong.
At the same time you are tightening the assembly with the 3 1/8″ socket with a short handle swivel. Get it snug but remember it is just plastic.
Replace the air assembly tube that attaches to the lower piping it is a 1/4″ turn to release. Do the same with the upper assembly replace all O-rings and spacers and tighten up.
Re-attach the upper piping assembly, re-attach the diffusers and screen.
Start replacing the sand. There will usually be 100 plus Lbs. of sand missing that will need to be replaced. The upper piping needs to be covered, it stabilizes the piping.
Clean the threads on the air release assembly and re-attach.
This is a big repair so take your time to get it right. There are thousands of sand filters out there and more on the way.